Appearance
Automation Lanes
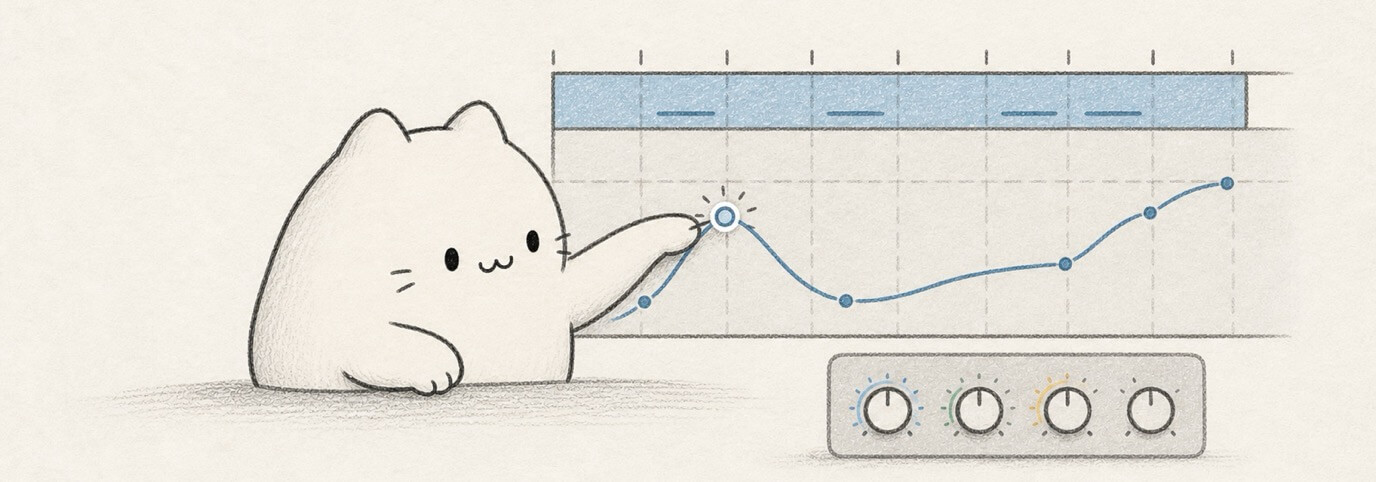
Use automation when a mix or effect should change over time: a filter opens into a chorus, delay grows at the end of a phrase, reverb blooms for a transition, or the Master fades out.
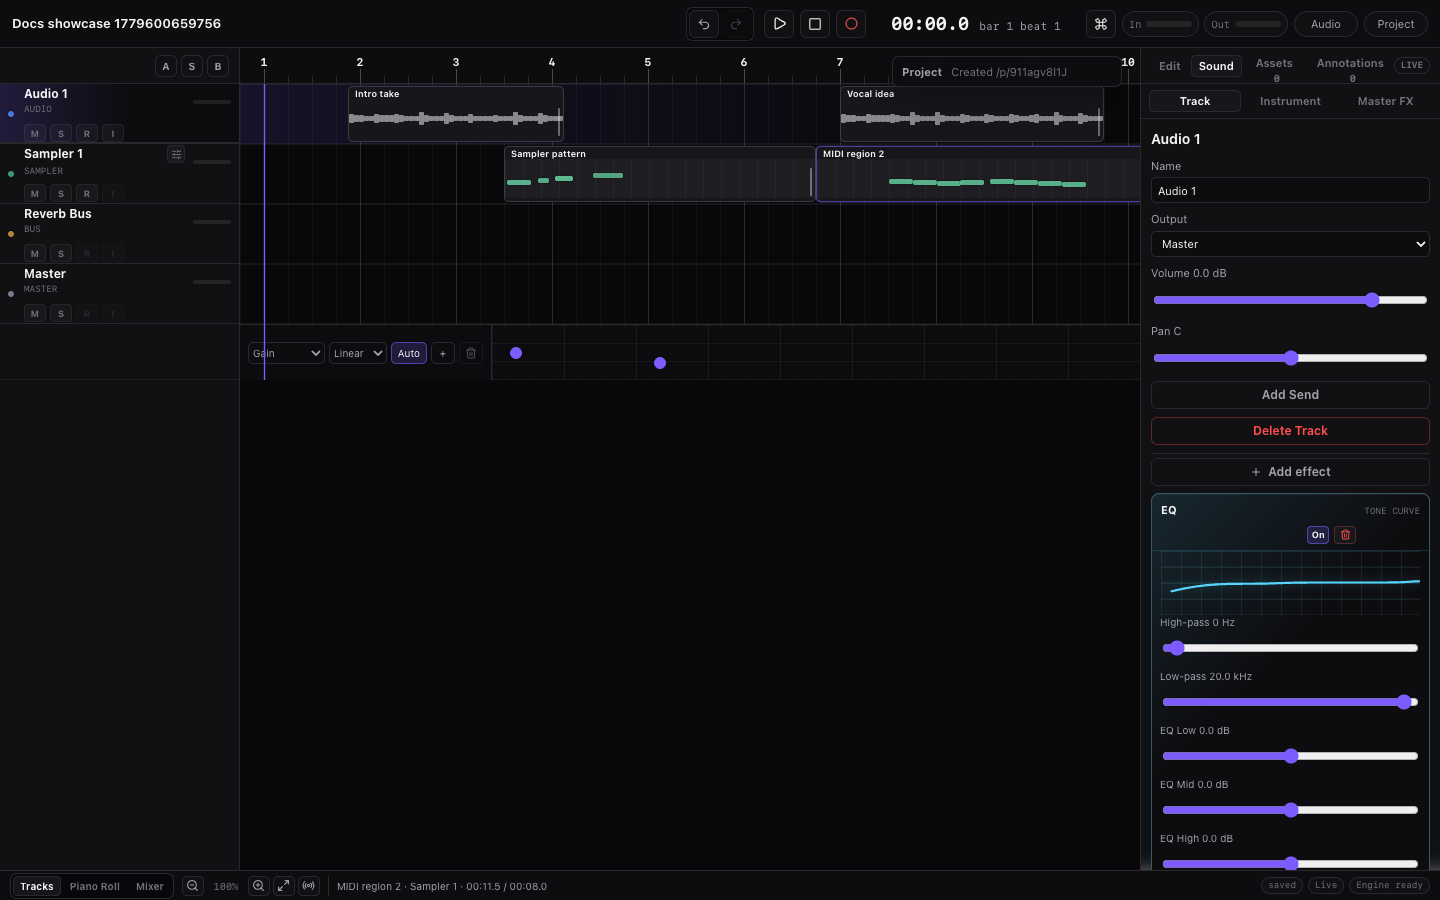
Automation in Miaou is lane-based. It appears as an extra row in the same arrangement timeline as regions, markers, chords, and the playhead. The row sits under the affected track or Master row, follows the same edit grid, and is read by realtime playback and export.
For where automation is read inside the full mix and export path, see Signal Flow and Export Paths.
What Automation Controls
Automation lanes target Track Effect and Master Effects parameters.
| Target type | Where to open it | Examples |
|---|---|---|
| Track Effect | Select a track, open Inspector > Mix, click A. | Delay Mix, Reverb Mix, Parametric EQ Band Gain, Utility Mono. |
| Master Effects | Open Inspector > Master, click A. | Output Gain, Limit Ceiling, Master Reverb, Master EQ. |
| Static track controls | Track head or Mix controls. | Track fader, pan, mute, solo, sends. |
Track-head faders, pans, sends, mute, and solo save with the project, but they are not the same as an automation lane. Use automation when you need repeatable movement over the song.
Static Control or Automation?
Start with the simplest control that matches the musical need.
| Need | Use |
|---|---|
| One fixed level, pan, effect value, or preset | The normal track, Mix, Instrument, or Master control. |
| A repeatable change at a specific song moment | An automation lane. |
| A quick before/after check | Bypass the effect, mute the automation lane, or undo the last edit. |
| A fade or transition that must export the same | Automation, then check realtime playback before exporting. |
| A one-time manual performance while listening | Move the control while auditioning, then add automation only if the movement should be repeated. |
If a static value and an enabled automation lane disagree, the enabled lane wins during playback and export. Mute the lane when you want to hear the static value again without deleting points.
Read the Automation Row
Before drawing points, confirm the row describes the parameter you mean to edit. This avoids the most common automation mistake: drawing a good curve on the wrong track or effect.
| Row detail | What it tells you |
|---|---|
| Track or Master label | Whether the row belongs to a source track, bus, or the final Master path. |
| Parameter name | The exact effect parameter being read, such as Delay Mix, Utility Width, or Master Output Gain. |
| Automated / Muted | Whether playback/export reads the lane or ignores the lane and uses the static parameter value. |
| Point count | Whether the lane has usable movement yet. A visible row with no useful points will not change sound. |
| Linear / stepped point menu | Whether the value glides between points or jumps at the next point. |
| Target picker | The destination parameter when you need to show a different Track Effect or Master Effects lane. |
If the row label is wrong, stop and choose the correct parameter before adding more points. If the row is right but you hear no change, check the effect bypass, Mix amount, routing, mute/solo state, and whether the row is Muted.
First Automation Pass
Use this small workflow the first time you automate a parameter:
- Select the track whose sound should move, or open Inspector > Master for a final-output move.
- Add or reveal the effect parameter you want, such as Delay Mix, Reverb Mix, Filter Cutoff, Utility Width, or Output Gain.
- Click A beside that parameter and read the automation row title. It should name the exact track or Master parameter you meant.
- Add two points: one before the change and one where the change should arrive.
- Play through the section. If the movement is too strong, drag the second point closer to the normal value.
- Mute the lane to compare against the static value, then re-enable it when the movement is right.
Keep the first pass simple. A two-point change is easier to trust than a dense curve, and it is easier to undo, copy, or adjust later.
Create a Lane
- Select the track or open Inspector > Master.
- Find the effect parameter you want to automate.
- Click the small A button beside that parameter.
- Miaou opens a contextual automation row under the affected track or Master row.
- Click the curve to add the first point.
Miaou shows one automation row at a time to keep the arrangement readable. The left track list row names the affected track or Master path, and the timeline row header names the effect and parameter being edited. The row also shows the lane state, point count, current static value, and value scale.
Add and Edit Points
Use pointer edits for normal work:
- Click the lane curve to add a point.
- Drag a point left or right to change time.
- Drag a point up or down to change value.
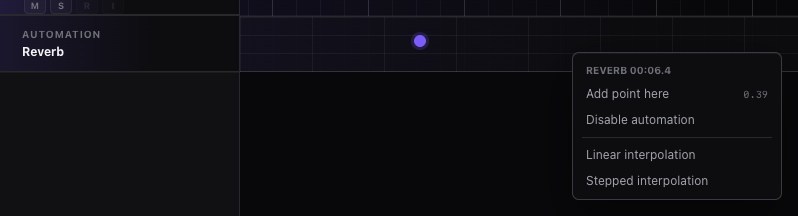
- Right-click the lane and choose Add point here for exact context-menu placement.
- Right-click a point to switch between Linear interpolation and Stepped interpolation.
The footer Grid and Abs/Rel snap controls apply to automation timing, just like region, chord, marker, and MIDI edits.
Select, Copy, Paste, and Nudge
Automation points use the same editing model as other timeline objects:
| Gesture or shortcut | Result |
|---|---|
| Click a point | Select that point. |
Cmd / Ctrl-click | Add or remove one point from the selection. |
Shift-click | Select a range in the lane. |
Cmd+A / Ctrl+A | Select every point in the active automation lane. |
Cmd+C, Cmd+X, Cmd+V | Copy, cut, and paste points in the current lane. |
Cmd+D / Ctrl+D | Duplicate selected points to the next sensible position. |
Delete / Backspace | Delete selected points. |
ArrowLeft / ArrowRight | Nudge selected points by the active grid. |
ArrowUp / ArrowDown | Nudge selected point values. |
Shift + arrow | Use a larger nudge step. |
Option / Alt drag | Leave originals in place and preview ghost duplicate points while moving. |
If several points are selected, dragging one selected point moves the group together. Timing and value offsets stay relative until the group reaches time 0 or the automated parameter's minimum or maximum value.
Linear vs Stepped
| Shape | Use it for |
|---|---|
| Linear | Smooth fades, filter sweeps, reverb/delay ramps. |
| Stepped | Abrupt effect changes, rhythmic jumps, on/off-style moves. |
Linear is the safest default for musical movement. Stepped is useful when you want a sudden change at an exact beat.
Mute or Re-enable a Lane
When a parameter row says Automated, playback and export read the lane over time. When the lane has points but is disabled, the row shows Muted and playback/export use the current static control value.
Use lane mute when you want to compare the automated movement against one fixed setting without deleting points.
Change the Target
Use the target picker in the automation row header when you want the visible row to show another automatable parameter.
Track Effect targets are grouped by effect in the selected track's effect chain. Master targets are grouped by effect family. This keeps duplicate effects separate: if a track has two Delay effects, each Delay's parameters remain separate automation targets.
Good First Automation Moves
Try these before making complicated curves:
| Goal | Lane idea |
|---|---|
| Build energy | Automate filter cutoff or Auto-filter depth into a chorus. |
| Make a transition | Raise Delay Mix or Reverb Mix for the last beat of a section. |
| Create movement | Automate Utility Width, Auto-pan depth, Tremolo depth, or Phaser Mix. |
| Clean an arrangement | Mute a heavy effect lane for a verse, then re-enable in the chorus. |
| Finish a song | Automate Master Effects Output Gain for a fade-out. |
Keep the first curve simple. Two or three well-placed points are usually easier to trust than a dense lane full of small edits.
Simple Automation Recipes
Use these as exact first shapes. Each one starts with two or three points, then you can refine by ear.
| Move | Parameter to automate | Point shape |
|---|---|---|
| Filter lift | Auto-filter cutoff or Parametric EQ band. | Low value before the section, higher value at the chorus or drop, optional third point to hold. |
| Delay throw | Delay Mix or Delay Feedback. | Normal low value during the phrase, high value on the last word/note, back down on the next beat. |
| Reverb bloom | Reverb Mix or Decay. | Low value before the transition, higher value at the final hit, return lower after the tail starts. |
| Verse-to-chorus width | Utility Width or Chorus Mix. | Narrower in the verse, wider at the chorus entrance, then hold. |
| Master fade-out | Master Effects Output Gain. | Normal level before the ending, lower level at the fade end; use Linear interpolation. |
| Rhythmic on/off move | Effect Mix, Utility Mono, or a stepped target. | Add points at grid positions and use Stepped interpolation for abrupt changes. |
After drawing one of these, mute the lane once to compare against the static setting. If the automated version only sounds louder or wider, adjust output or mix before adding more points.
Realtime and Export
Automation is part of the project render path. Realtime playback and full-mix export are expected to read the same enabled automation lanes.
Before exporting:
- Play the section where the lane changes.
- Confirm the parameter row says Automated, not Muted.
- Check mute/solo/routing if the effect seems silent.
- Export ZIP and listen to
project-mix.wav.
Per-track stems include source-track automation where relevant, but stems do not include final Master Effects or final Master output controls. Use the full mix when you need the finished Master path.
Troubleshooting
| Symptom | Check |
|---|---|
| The lane is visible but nothing changes | Confirm the row is enabled, the effect is enabled, and the parameter row says Automated. |
| The curve changed a different effect | Check the lane header target and the selected track or Master surface. |
| Points paste at the wrong time | Move the playhead or right-click the destination lane and choose Paste point here. |
| Movement sounds too jumpy | Switch points to Linear interpolation or reduce the value jump. |
| Movement is too gradual | Use Stepped interpolation or add points closer to the transition. |
| Export sounds different from playback | Check lane enabled state, mute/solo/routing, Master controls, and whether you are comparing stems to the full mix. |
Limits to Know
- Miaou shows one contextual automation row at a time.
- Track-head faders, pans, mute/solo, and sends are saved controls; lane automation controls Track Effect and Master Effects parameters.
- Continuous live drags on some mix controls save immediately but are not always undo-stack entries.
- Dense automation, heavy analyzers, and many active effects can add CPU load in large projects.
Related Pages
- Mix and Automate gives the task-first mix path around levels, routing, sends, sidechain, automation, and export.
- Signal Flow and Export Paths explains how automation sits in the realtime and export signal path.
- Effects and Automation explains effect racks, signal flow, Track Effects, Master Effects, and automation reference details.
- Effect Reference lists each effect, parameter, preset, and screenshot.
- Editing Basics explains shared selection, clipboard, duplicate, nudge, and undo behavior.
- Troubleshooting covers common automation failures.